 Advertisement
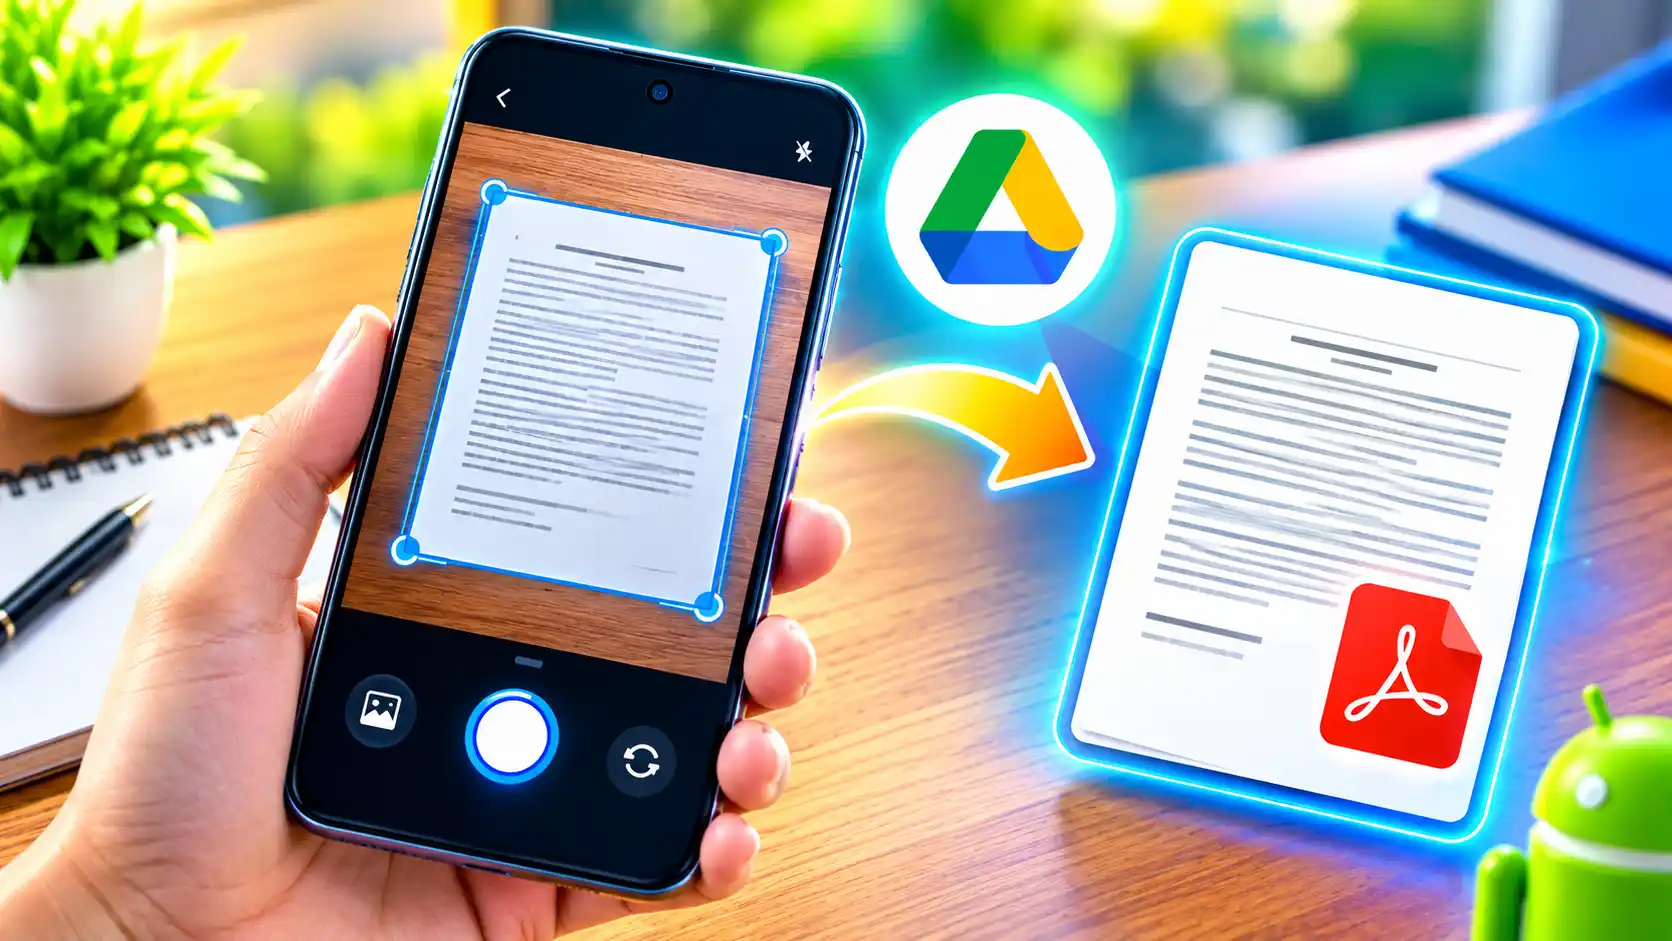
The Google Drive app has a built-in function which allows you to easily scan any document from your Android phone. Over the years smartphones have become so much more capable, able to replace a laptop or a computer for specialised activities, a camera, a webcam, and an entertainment device. We use them to scroll social media, do our office work and even to make calls. As the cameras on our cellphones also get better, you can use them to scan official papers, so you don’t need to possess a separate scanner. Scanning documents directly from your phone is more convenient and saves you money. You can save the file in the format of your choosing without hassle.
Read More: How to stop whatsapp from automatically downloading photos and Videos
If you are also wondering how to scan documents effortlessly with your Android smartphone without downloading third-party software, here are step-by-step instructions to help you with the same.
Google Drive App: How to Scan Documents With Your Android Phone
1: First of all, launch the Google Drive app on your Android phone.
2: Now, press on the camera button that appears at the bottom right of the screen.
3: Now adjust your camera so that all four corners of the document are in the picture.
4: A blue outline will appear around the document; this is the region the image will be cropped. To resize the document, drag the corners.
5: Now press the capture button for the image of the document.
Or if you want to speed things up, you can switch between manual and auto capture.
6: Once you’ve caught the photo, you may edit the scanned document by tapping on the Crop and Rotate button, hitting on the Filter button to add a filter, or touching on the Clean button to erase.
7: Click the Add button to add more pages to the same document.
8: If you don’t like the scanned document, you can tap the Retake button.
Likewise, tap the Delete button to delete a page. When you are happy with the result, click on the Done button.
9: Name the document scanned or choose the suggested one to save.
10: Then select the format you desire to save the document in, for example, PDF or JPG.
11: Browse to the folder where you wish to save the document.
12: Now click on the Save button.
How to Scan Documents on Android Using the Camera App
Some OEMs have incorporated a document scanner in the default camera app of the Android phone.
Step 1: First, launch the camera app on your phone.
Step 2: Hold your phone’s camera up to the document. Place the document flat.
Step 3: Depending on your OEM, you will notice a page symbol in a yellow hue on both sides of your screen. Tap the page icon.
Step 4: If you desire to scan the document again, you can press the Retake button at this stage.
Step 5: At last, touch on Save to save the scanned document. The scanned document will be in the gallery app or Files folder.
FAQs
Yes, you are able to scan a physical document immediately from your Android phone using the Google Drive app
Read More:
No, you can scan documents using the built-in scanner in the Google Drive app or your phone’s camera app document scanner.
When you scan it using the Google Drive app, you will find the scanned documents in the default folder within your Google Drive.
.